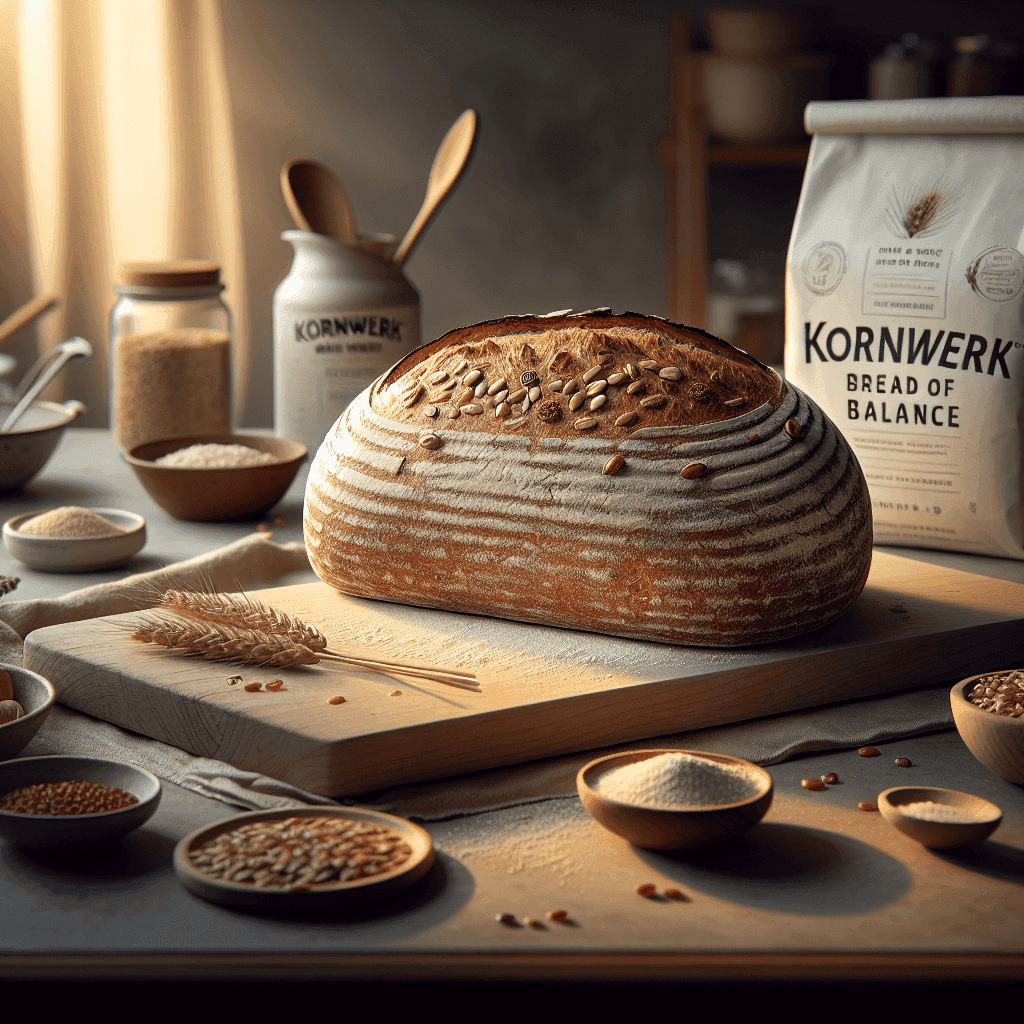
Kornwerk: Bread of Balance
A golden sourdough bread with chia, boasting crackling crust and a light, nourishing crumb—a harmonious union of strength and calm.
Timing
Prep: 40 min
Cook: 50 min
Rest: 170 min
Total: 260 min
Category & Type
🏷️bread
⚖️sourdough
Hard
Dietary
🌱Vegan
Stats
★5 rating
♥0 favorites
↻0 times tried
Ingredients
Adjust Portions
1loaf
Check off ingredients as you prepare them
Progress0 of 7
Main
400 g
Wheat Flour Type 550
100 g
Whole Rye Flour
120 g
Active Sourdough Starter (100% Hydration)
350 g
Water
30 g
Chia Seeds
10 g
Fine Sea Salt
60 g
Extra Water (for Soaking Chia)
Nutrition Facts
Nährwertangaben
pro pro 100g
Kalorien280 kcal
Protein9 g
Kohlenhydrate58 g
Fett3 g
Ballaststoffe7 g
Zucker1 g
Natrium400 mg
Instructions
30
Soak Chia Seeds
Duration: 20 Min
Step 30
Combine Chia Seeds with Extra Water (for Soaking Chia) in a small bowl. Stir and let sit for 20 minutes, until the mixture becomes gel-like and the seeds are fully hydrated. The seeds should look glossy and feel slippery to the touch—this ensures they bring lightness instead of dryness to the bread.
31
Mix Dough
Duration: 10 Min
Attention needed
Mixing Ingredients
In a large Mixing Bowl, combine Wheat Flour Type 550, Whole Rye Flour, and Water. Add the Active Sourdough Starter and the soaked chia seed mixture. Mix with hands or Dough Scraper until no dry flour remains and the dough looks shaggy—this sets the foundation for gluten development.
36
Autolyse
Duration: 30 Min
Step 36
Cover the Mixing Bowl and let the dough rest for 30 minutes at room temperature (22–24°C). The dough will become smoother and slightly elastic. This step jumpstarts gluten formation, giving you a structure that feels alive.
Temperature:23°C
Cool
32
Add Salt and Knead
Duration: 7 Min
Attention needed
Kneading Dough
Sprinkle Fine Sea Salt over the dough. Knead in the Mixing Bowl for 5–7 minutes, stretching and folding by hand, until the dough feels supple and slightly tacky but not sticky. It should hold together in a soft ball—thorough mixing ensures even fermentation and full flavor.
37
Bulk Fermentation with Folds
Duration: 3 Std
Attention needed
Step 37
Cover the Mixing Bowl and let the dough rise at 24°C for 3 hours, performing 3 sets of stretch-and-folds every 45 minutes. The dough should gradually inflate, become smooth and airy, and resist your touch. These gentle folds build strength and capture the bread’s inner balance.
Temperature:24°C
Cool
33
Preshape and Rest
Duration: 20 Min
Step 33
Flour your work surface lightly. Turn the dough out with a Dough Scraper, shape it gently into a round, and let it rest uncovered for 20 minutes. The dough should relax but keep its shape—this pause lets the gluten settle, giving the bread its serenity.
34
Shape the Loaf
Duration: 10 Min
Attention needed
Step 34
Shape the dough into a tight round or oval, tensioning the surface without tearing. Place it seam-side up in a well-floured Proofing Basket. A taut outer skin is your sign of readiness—shaping gives the bread its final form and confidence.
38
Final Proof
Duration: 2 Std 30 Min
Attention needed
Step 38
Cover the Proofing Basket and let the loaf proof at 24°C for 2–3 hours, or until it springs back slowly when pressed and the surface feels airy. This patient proofing allows flavors and aromas to deepen and brings harmony to crumb and crust.
Temperature:24°C
Cool
39
Preheat Oven and Dutch Oven
Duration: 30 Min
Step 39
Place your Dutch Oven with its lid inside your oven. Preheat to 250°C for at least 30 minutes so both oven and Dutch Oven are thoroughly hot. A fierce initial heat is crucial for maximum oven spring and a crackling crust.
Temperature:250°C
Hot
40
Score and Bake
Duration: 50 Min
Attention needed
Baking
Carefully invert the risen dough onto parchment. Score the top with a sharp Bread Lame. Transfer loaf on parchment into the preheated Dutch Oven. Bake covered at 250°C for 20 minutes, then remove the lid and bake at 220°C for 30 minutes more, until the crust is deep gold and rings hollow. This step brings the bread’s strength and spirit to life.
Temperature:250°C
Hot
35
Cool and Serve
Duration: 1 Std
Step 35
Remove the bread from the Dutch Oven and let cool on a Wire Rack until completely cool, at least 1 hour. The crust will sing as it cracks, and the aroma will fill your kitchen. Cooling allows the crumb to set and flavors to bloom. Slice, share, and savor: each bite is a quiet celebration of nature’s rhythm and the craft of your hands.